
Welcome to Proving Grounds Grandmaster Nightfall Guide for Destiny 2 D2.
Grandmaster Nightfalls are the most difficult level of Nightfalls in Destiny 2 D2. All fireteam members must be at or above 1345 Power to play this activity. Higher Power than 1345 is useless in Grandmaster Nightfalls because you will always be lowered to 1345 if you are higher.
The Opponents are always at 1370 which means 25 power above us. Thus, every opponent, no matter how small, becomes a deadly danger.
Tables of Contents
- Overview Champions and Shields
- Classes and Supers
- Loadouts
- How to Proceed
Overview Champions and Shields – Proving Grounds GM NF Destiny 2 D2
Champions
Because there are Cabal in this Strike there are the following Champions:


Shields
Arc, Solar and Void Shields are present in this Grandmaster Nightfall in Destiny 2 D2. Keep in mind that in this Activity Match Game is always active and therefore any Shield, no matter how small, without the matching elemental damage can become a huge problem.
Arc shields come at the beginning of the Stirke with the Vex Harpies and if Val Kladior spawns he also has an Arc shield. This is not such a big deal and can be well covered by an arbalest.
Solar shields can only be found on the Halphas Honorguard, which is not even sure to spawn because its random which miniboss is spawning.
Void shields come with the interceptor pilots and if Val Canqu us spawns he also has a void shield. With the interceptor pilots you can also just fire at the vehicle until it breaks.


Classes and Supers – The Devils Lair GM NF Destiny 2 D2
Here I show you a possible Class Setup with the matching exotic Armor. There are of course many possible setups but I will show you the simplest and safest.
Person 1
Way of the pathfinder
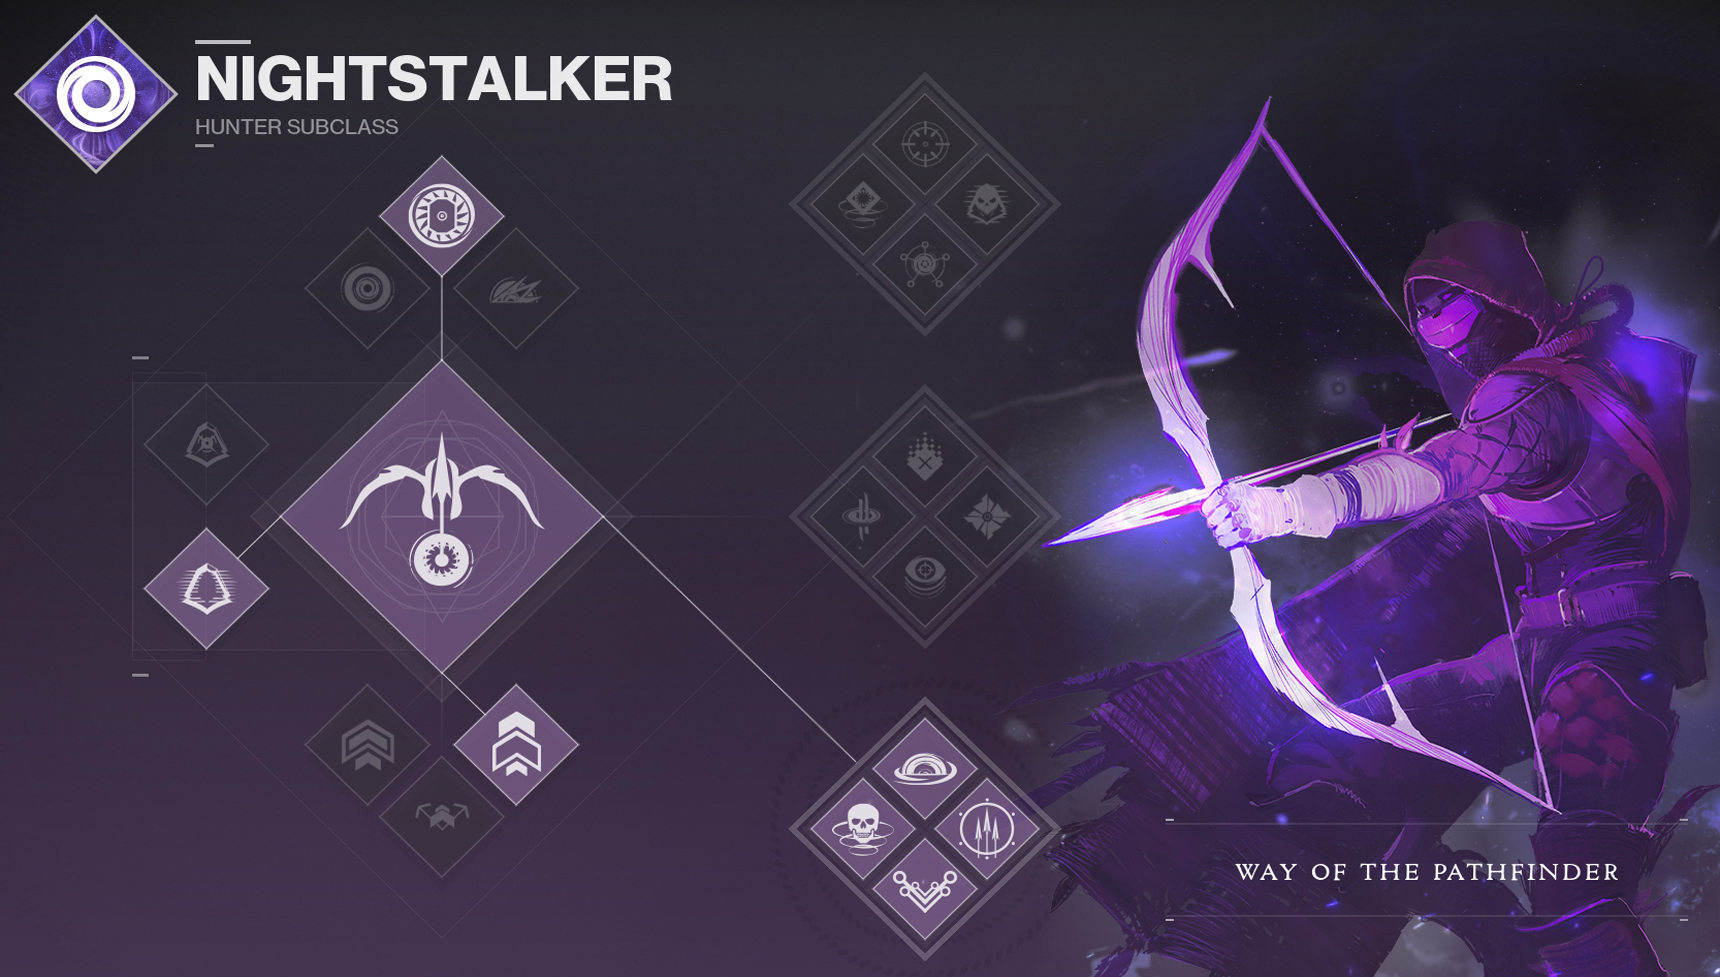
Person 1 can revive super easily by first making himself invisible. Further, she constantly generates special ammunition by finishing smaller enemies. Often the Cabal dogs are good for this. Also to destroy the big shield of the boss an invisible person is very good.
So that everyone always has enough heavy ammunition, person 1 and 2 use Aeon. Because for the one who makes the finisher no ammunition drops, the 2 must always agree on who needs ammunition.

Person 2
Attunement of Grace
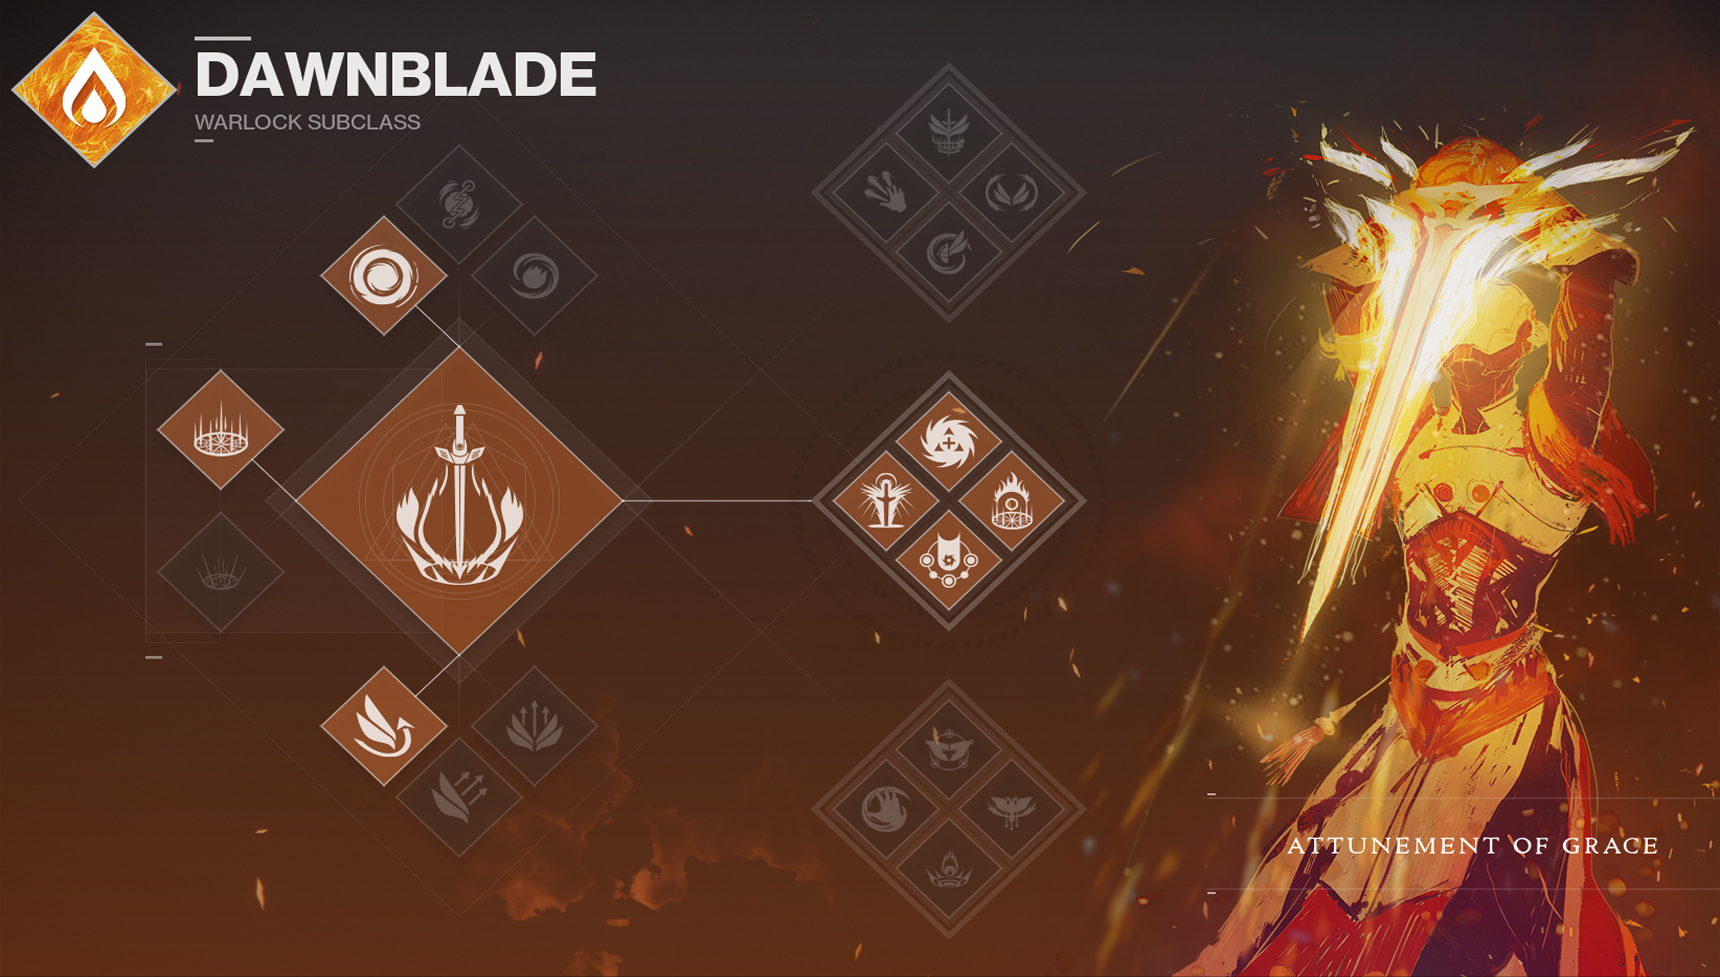
Person 2 is the absolute Supporter. He heals the Team, creates ammunition, boosts the damage and weakens the opponents.
With Benevolent Dawn, the Rift regenerates so quickly as long as there is at least one ally in it that you can have it up all the time. With Divine Protection you turn your grenade into a Blessing that heals yourself and/or your allies and gives you an over shield, so you can throw support to a buddy who is stuck somewhere. With the Well of Radiance you create an area where everyone is healed and your damage is pushed up, it is great for a section where either many Champions come at the same time or a lot of damage must come on a Boss/Miniboss.
Person 2 plays Aeon Swift to generate Heavy Ammo for the other two by finishing Champions.

Person 3
Void Titan
Code of the Protector

Person 3 is the defender in the team. He places his barricades to block shots and create more space for his team members. He works mainly with his weapons and weakens the champions so far down that person 1 can finish them.
Person 3 is especially important in the final fight where he can block the boss with his super to break the shields which is definitely the most challenging part of the Grandmaster Nightfall Proving Grounds. Because in Destiny 2 the bosses always have such a dangerous stomp attack when you get too close.

Loadout – The Devils Lair GM NF Destiny 2 D2
Here I show you a Loadout Setup with the matching exotic Weapon. There are of course many possible setups but I will show you the simplest and safest. It works best if you let the Person 1 from above also down here Person 1 and so on.
Person 1
Primary Slot : Arbalest is simply too good here. Because it now has the integrated Anti Barrier and refills its magazine with its Catalyst when you break a shield, the thing is just a bomb against Anti Barrier Champions. But even apart from that it does great damage over a good range.

Just to make sure that both types of champions are covered at all times, I recommend that person 1 and person 3 take an pulse rifle and an auto rifle with them. Which one to take does not matter. The important thing is that they have the appropriate artifact mods with them. (unstoppable pulse rifle and anti barrier auto rifle).

Heavy Slot: In the heavy slot i recommend to take a Linear Fusion Rifle with you. Because we have someone with Vex Mythoclast, we should always wait until he has stacked the debuff to the maximum and then hit out maximum damage and be ammunition efficient. A good Linear Fusion Rifle here is the Threaded Needle as it has great Perks and also brings Void to destroy the Shields around the Boss. Perk recommendation:
- Auto-loading Holster
- Vorpal Weapon

Person 2
Primary slot: Does not play a big role, here for example a blinding Grenade Launcher or simply a Weapon with a good range is suitable.

Secondary Slot: Here we take VEX MYTHOCLAST which is doubly good this season.
First, through the seasonal mod particle deconstruction, you add a debuff to every enemy you shoot. Because the Vex Mythoclast is a primary weapon and has infinite ammunition, you can stack up this debuff on any small or large enemy first and then simply defeat them. After you hit five shots, the debuff is at its maximum level and you do 40% more damage with Fusion Rifles and Linear Fusion Rifles.
Secondly, this season we have the mod unstoppable fusion rifle to go with it. This means you can stun the unstoppable champions with your Vex Mythoclast and debuff them at the same time.

The heavy weapon of Person 2 is not that important and can be chosen according to your needs. For example, i would find something like Ascendancy quite good to do fast good burst damage in a situation where you can’t aim that accurately.

Person 3
Primary Slot : Arbalest is simply too good here. Because it now has the integrated Anti Barrier and refills its magazine with its Catalyst when you break a shield, the thing is just a bomb against Anti Barrier Champions. But even apart from that it does great damage over a good range.
Just to make sure that both types of champions are covered at all times, I recommend that person 1 and person 3 take an pulse rifle and an auto rifle with them. Which one to take does not matter. The important thing is that they have the appropriate artifact mods with them. (unstoppable pulse rifle and anti barrier auto rifle).

Heavy Slot: In the heavy slot i recommend to take a Linear Fusion Rifle with you. Because we have someone with Vex Mythoclast, we should always wait until he has stacked the debuff to the maximum and then hit out maximum damage and be ammunition efficient. A good Linear Fusion Rifle here is the Reeds Regret because of best Perks.
Perk recommendation:
- Triple Tap
- Firing Line

How to proceed – Proving Grounds GM NF Destiny 2 D2
The first thing you see when you land is the Cabal fighting the Vex. You can either pass them on the outside left or defeat them one by one from a great distance. Since the Vex Harpies have annoying arc shields I recommend going around them to save ammo.
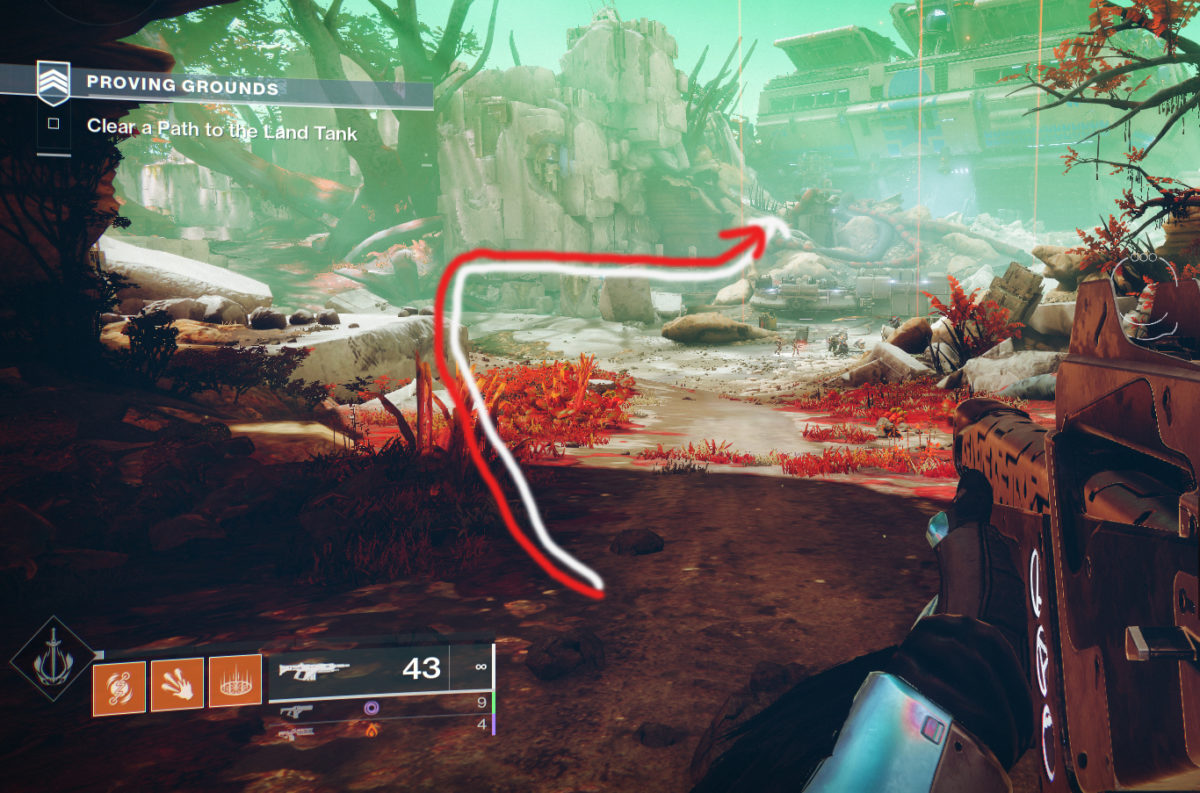
While you are climbing the rocks on the outside of the enemy it is very important that you know the positions of the turrets. The turrets do a lot of damage and hit very well, but they are not mobile and can be easily defeated if you know where they are. On the following pictures you can see the most dangerous ones.


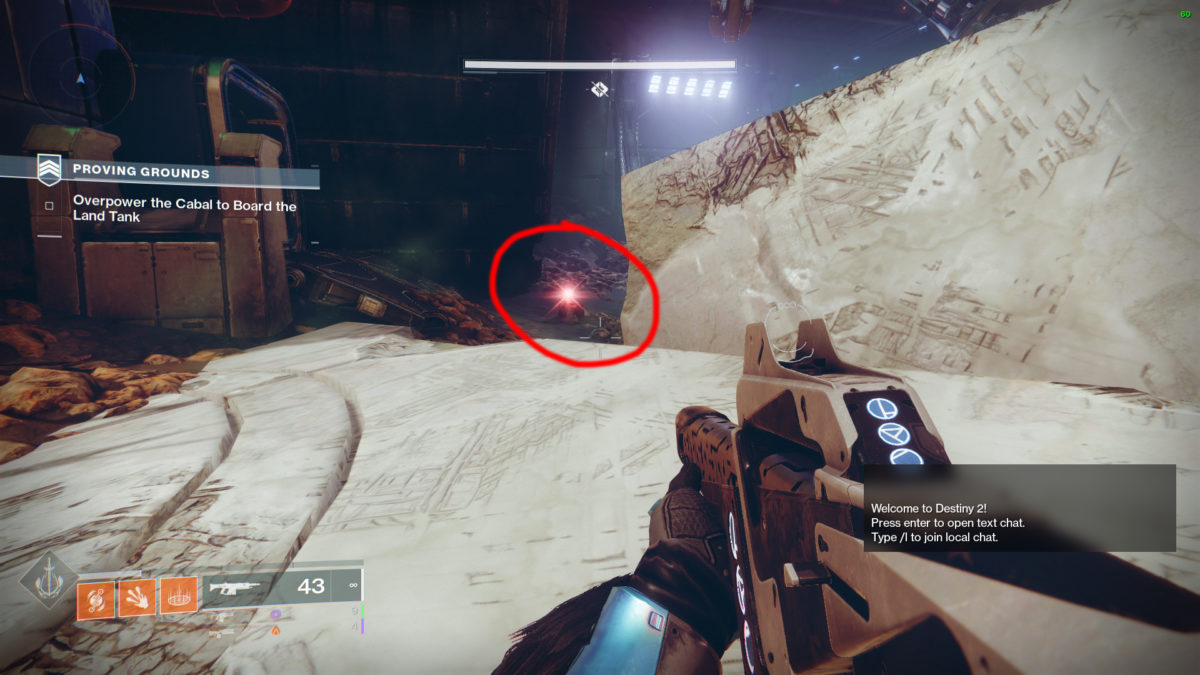
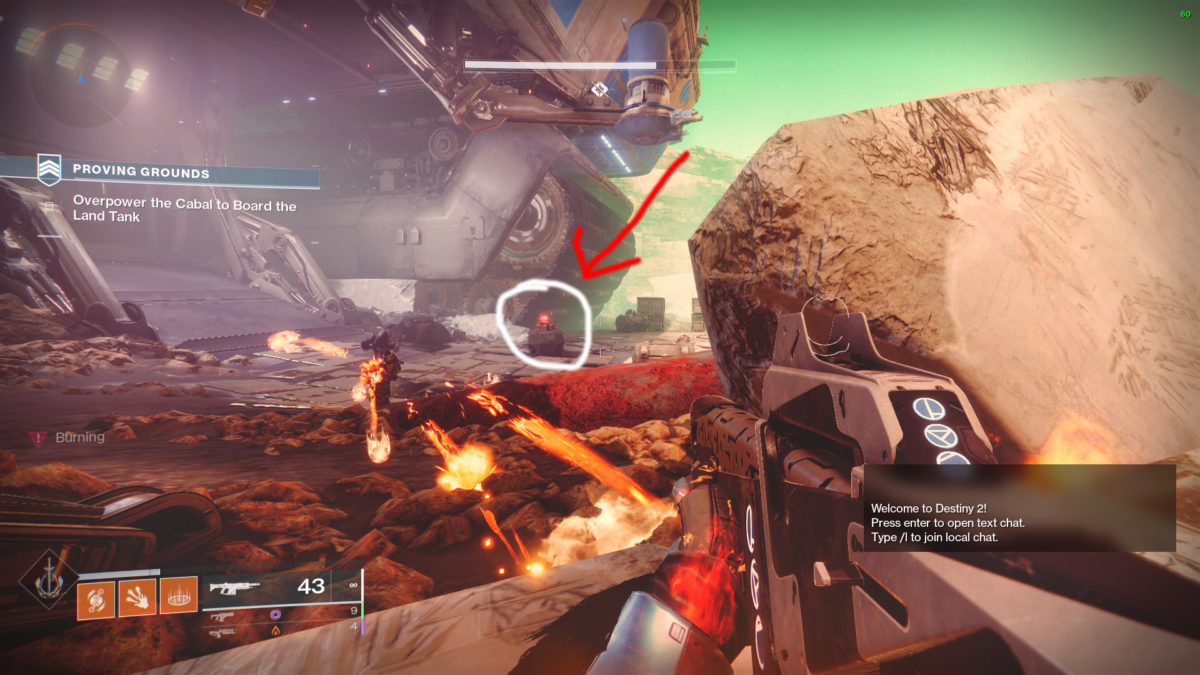
After you have cleared the champions and other enemies, the first miniboss appears from the big gate in front of you. Here it makes sense to defeat all the smaller enemies first. As soon as you have drained a third of the miniboss’s life, his first immune phase begins, during which he makes a large shield around him. Here you have to be very attentive because new enemies will appear from the door right next to you. Look at the picture if you don’t know which door I mean. These enemies will send you into orbit very quickly if you are not prepared.

Here is a short video that shows how to destroy the shield of the first mini boss easily and safely.
Here is a very short funny video that shows that this Miniboss is one of the few bosses in Destiny 2 that does not have a stomp attack.
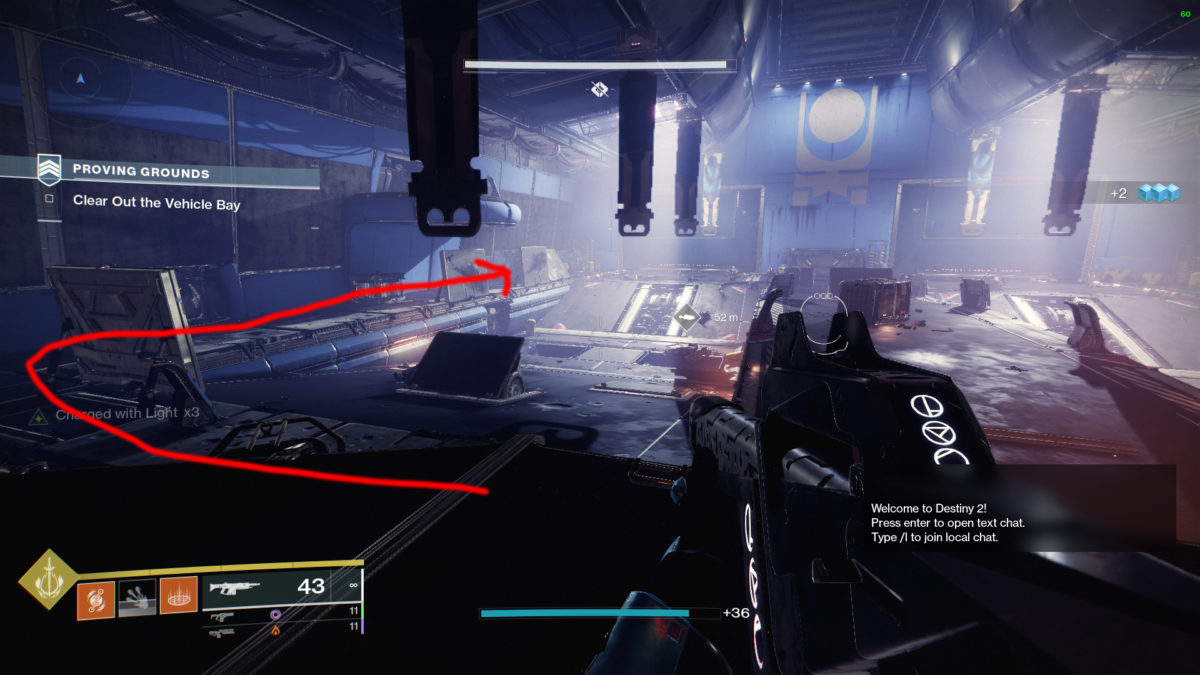
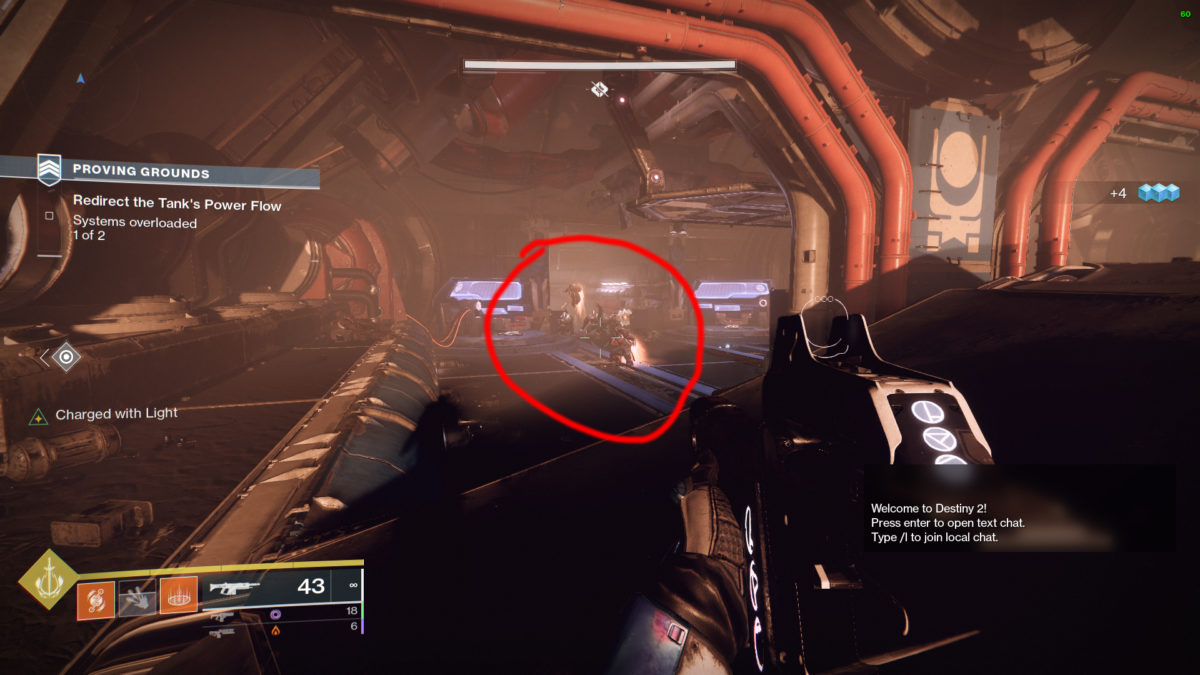
The next dangerous section is the tank room. But before tanks appear here, psions are up to mischief on their vehicles. If you are not yet so sure, it is suitable to defeat as many enemies and vehicles from above before jumping down. This requires a bit of patience because the opponents sometimes hide quite nicely but it is just safe.

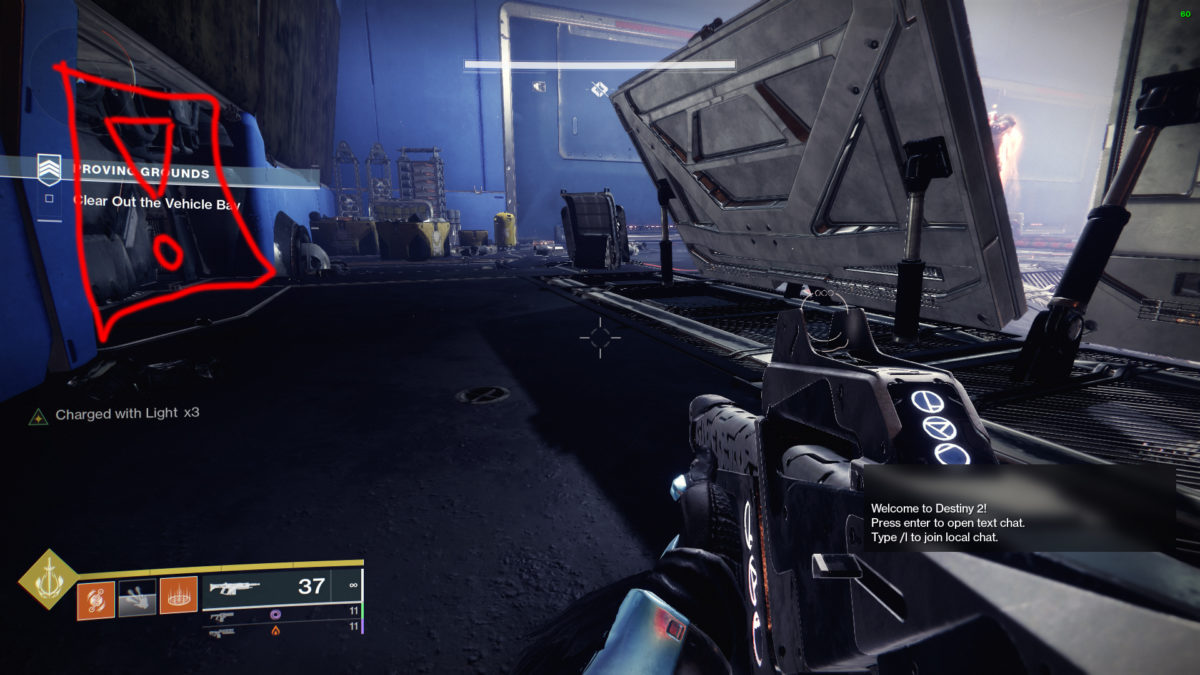
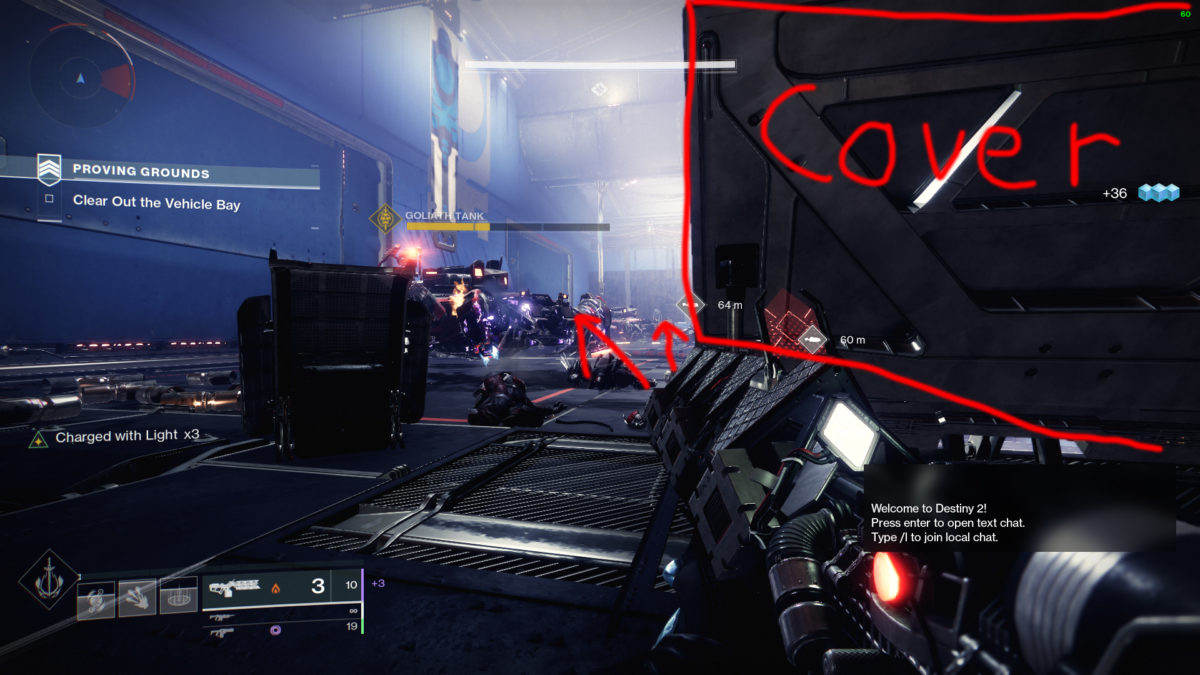
Once you have jumped down and defeated most of the enemies, position yourself in the left front of the room as shown in the following pictures. As soon as you have defeated the last enemy and the next wave begins, the warlock puts his well, because right at the beginning from the door on the left you will spawn enemies that you have to defeat as quickly as possible, so it is recommended here also to use the Hunter super the tether. Once you have defeated these enemies depending on whether the well is still standing use the Titan bubble or continue the well to quickly destroy the tanks with your linear fusion rifles. If you do everything exactly like this, there will be far fewer enemies than if you defeat all the champions first and only then tackle the tanks.
Next comes the bridge phase where you have to go and deposit the energy cores. Play defensively and safe then this should not make big problems. The only thing you really have to watch out for is when you kill the miniboss at the second energy core, new enemies will spawn behind you. So it’s worth killing everything else first and then deliberately defeating the miniboss when you’re ready to deal with the enemies from behind.

Finally arrived in the boss room, however, it will not be easy here either. The boss has a troublesome mechanic with his shields in combination with his deadly stomp attack. The balls are with the right strategy less of a problem because you can wait them out after he has made them 13 times, he just stops until the next shield break. I recommend you play the first 2 thirds of his life from the small tunnel below the boss podium. See the first picture. As soon as he reaches his last third you must immediately go to the very bottom of the entrance and start clearing the enemies. The balls of the boss will not be able to reach you down there and you can fully concentrate on the champions and other opponents that have appeared.

Here again a little help to break the shield of the end boss. This is not always as easy as the first miniboss.
Here you can see how far the fireballs from the endboss can travel until they burst.

Leave A Comment